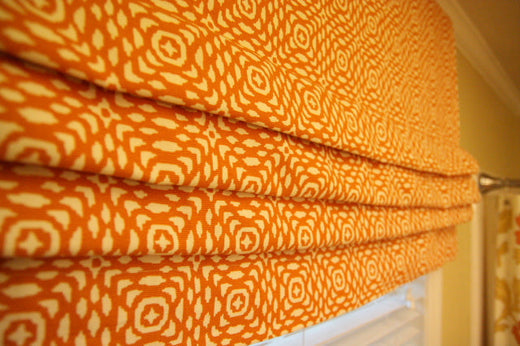
Fixed Flat-fold Roman Shade
Share
Greetings from the land of heat, humidity, and warm pool water {which makes swimming not near as much fun}! From the blogs I read it looks like most of y’all are melting too.
Once I cut out my fabric I turned the sides {R and L} under 1/2″ and then 1/2″ again and sewed a straight stitch. Then I did the same at the top. I DID NOT hem the bottom yet. I took a piece of blackout drapery lining and cut to the size of the shade less 1/2″ on each side and less the hem allowance on the bottom. Then I HOT GLUED the blackout lining to my shade panel on the seams and then I hemmed the bottom by turning it under 1″ and then up 3″. I would only use hot glue if you use a “blackout lining”. Please don’t use glue if you line it with a fabric drapery lining. And please don’t glue anywhere but on the edges where your seams are.
Then I added the folds.
As you can see they are uneven and not equally spaced. No one will ever notice besides me and all of you. I just pinched the fabric together and worked with it until I liked how it looked. I wanted it to hang at least half way down the top window pane when mounted at the crown molding.
First exhibit: This is how far down the window I wanted it to hang.
Second exhibit: Mounted at crown molding not window trim. We have small windows and low ceilings and I wanted to add height to the window so I hung the sucker much higher so the window will appear to be much larger than it really is. You should only do this if you use blackout lining otherwise you’ll be found out when the sun shines and they can see the window behind your shade.
Once my pleats were where I wanted them I sewed them together with a straight stitch. Which by the way, getting the pleats where I wanted them was the hardest part. There is probably a math formula for such thing but I just “eyeballed” it.
Then my shade was done and it was time to mount it to my 1″x 2″ that my husband cut to the width of the window {outside trim to outside trim} which should be the exact measurement of your shade. I used a staple gun and stapled the shade to the board and then mounted it to the wall using dryway screws and L brackets.


